From construction site to dismantling
This page shows the whole path of a scaffold through ScaffConnect, from the customer's first call to the final invoice. Each step links to the detailed guide.
You can enter partial invoices at any time, not only after the dismantling.
1. Create the construction site
When a job comes in, a site manager or the office creates the construction site: address, customer with contact person, responsible site manager, plus a note and tags. Plans or structural calculations go under Documents.
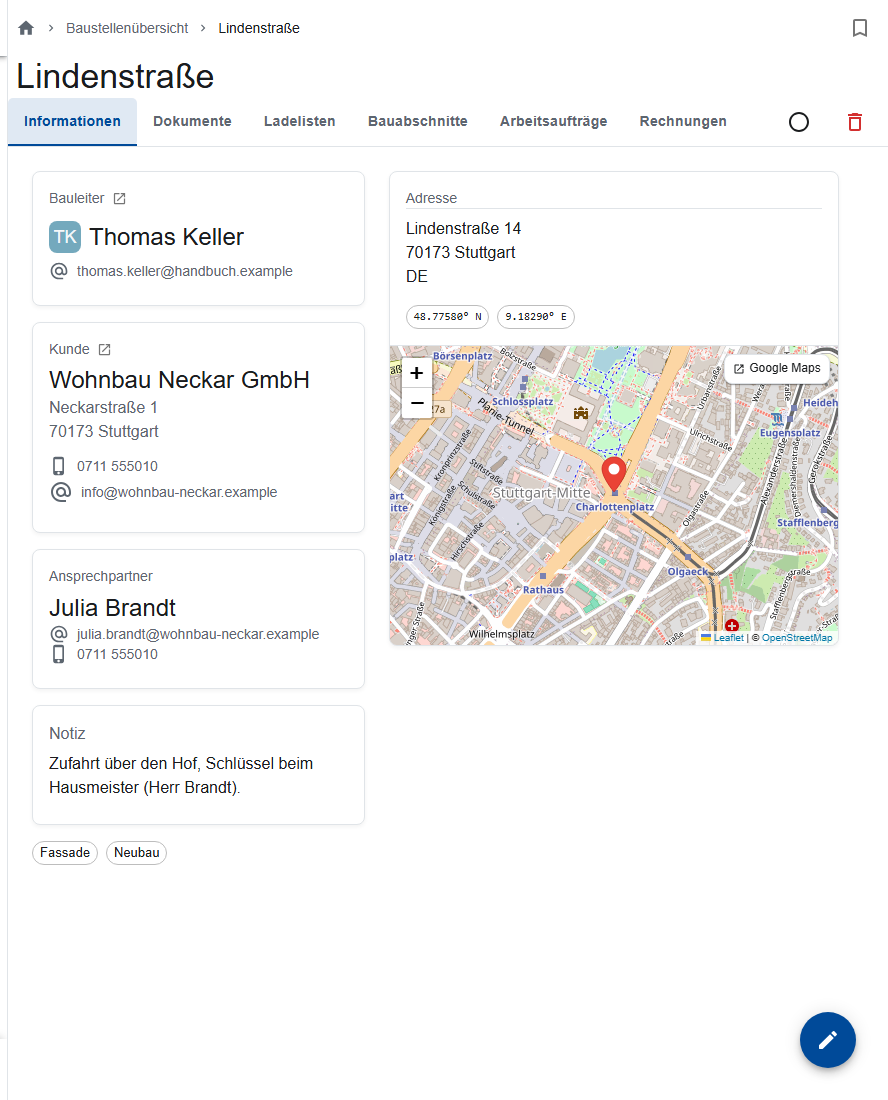
→ Guide: Construction sites
2. Define sections
Each scaffold on the site becomes a section, for example “Haus A – Fassade Nord” and “Haus A – Fassade Süd”, with Assembly instructions and the email address for the inspection report. A new section is closed.
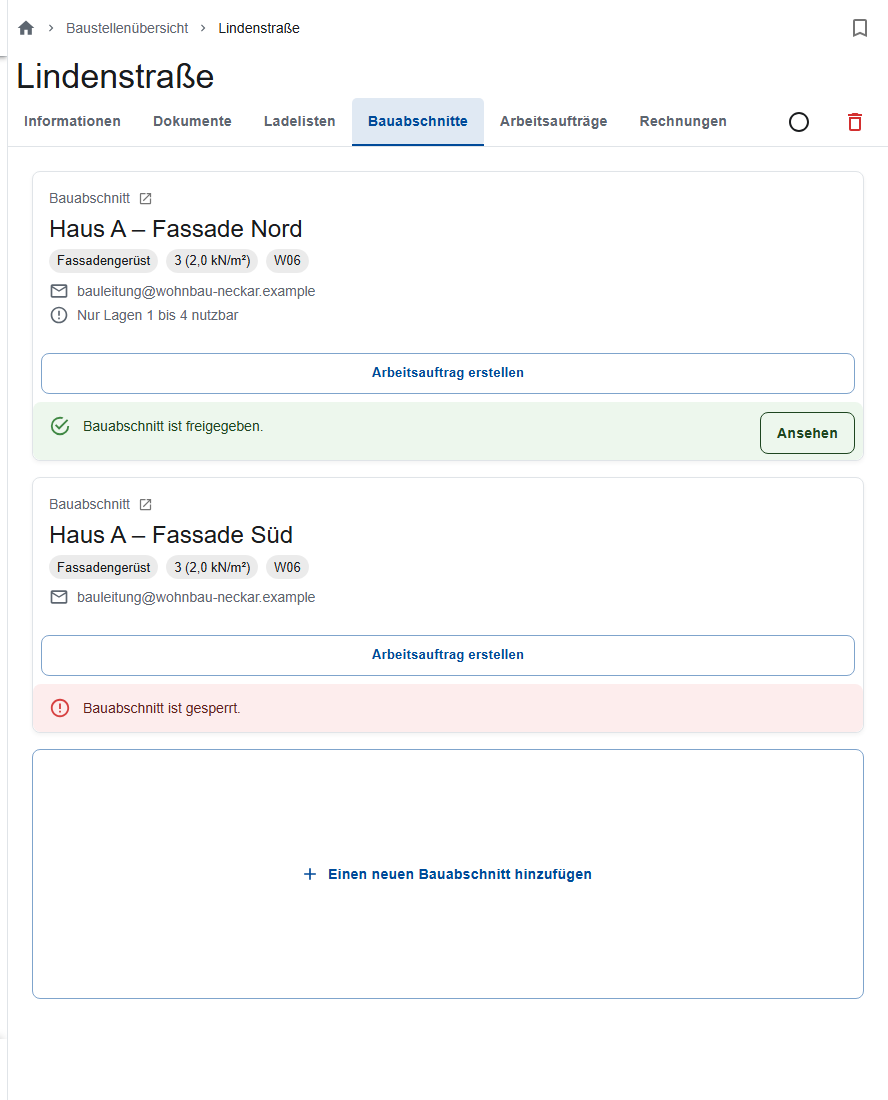
→ Guide: Sections and QR codes
3. Plan the work order for the erection
For the erection, the site manager creates a work order: section, date, task Assembly, employees with at least one crew leader, vehicles. The Hazard analysis comes from the assembly instructions. Material is ordered through a loading list (Material: loading list and delivery note).
The crew only sees the order on their phones once it's released (eye icon).
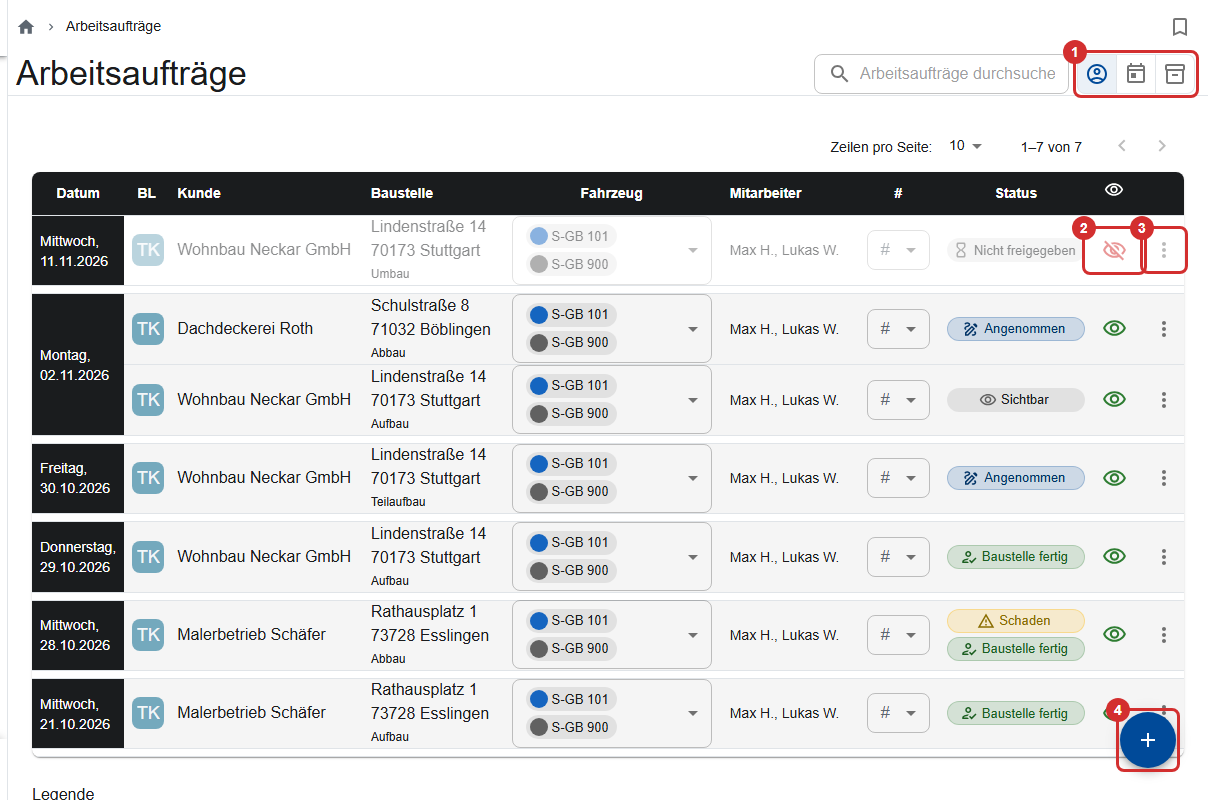
→ Guide: Planning work orders
4. Erection by the crew
On the day of the job, the crew leader confirms the briefing and opens the order. The crew uploads photos, reports damage and finally submits the Construction site report (“Is the construction site finished?”). A finished erection doesn't release the scaffold yet.
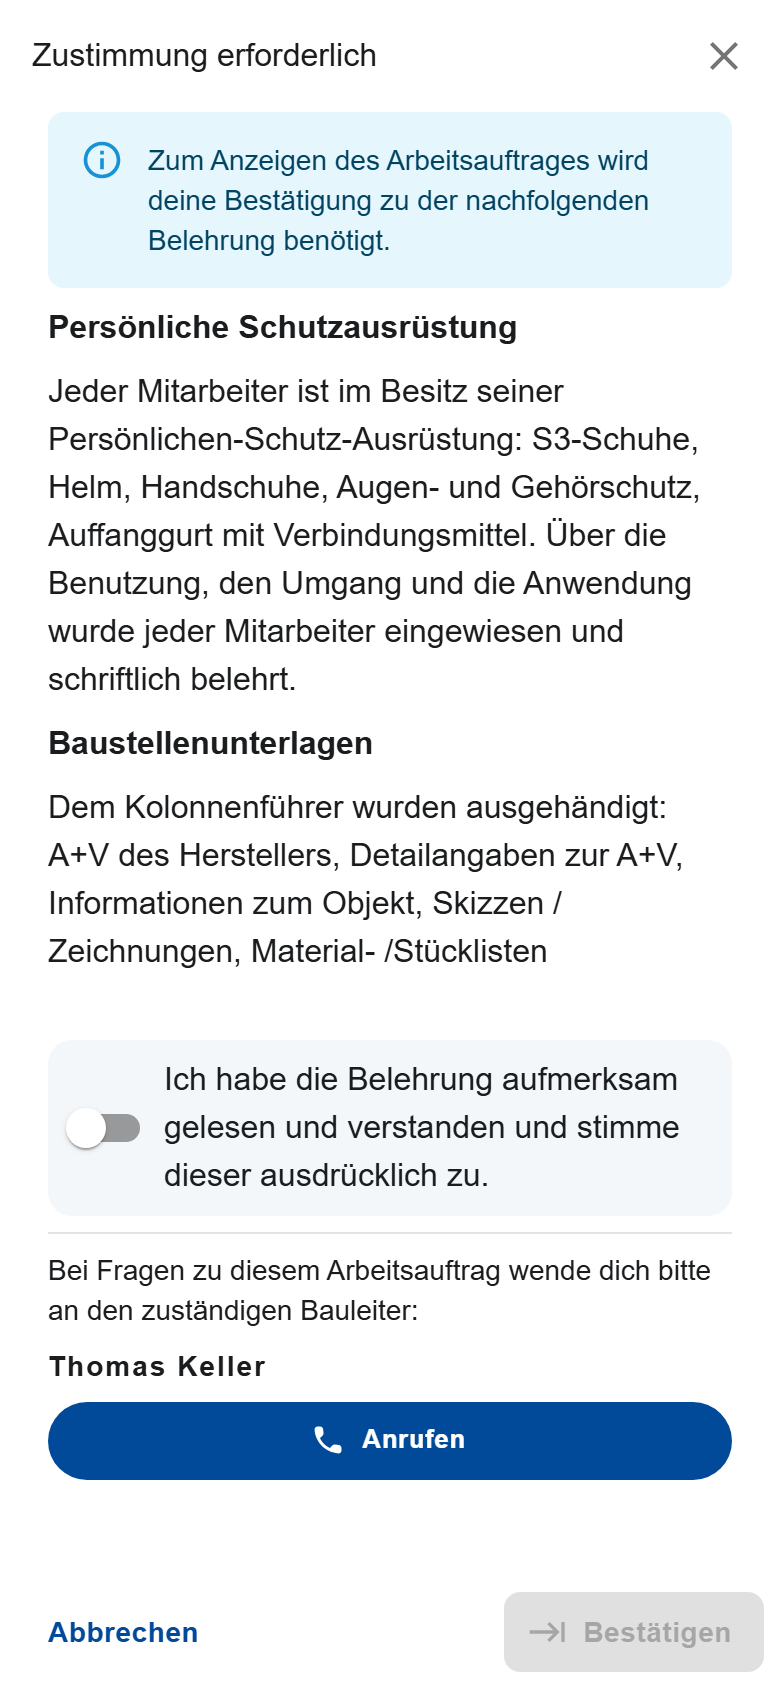
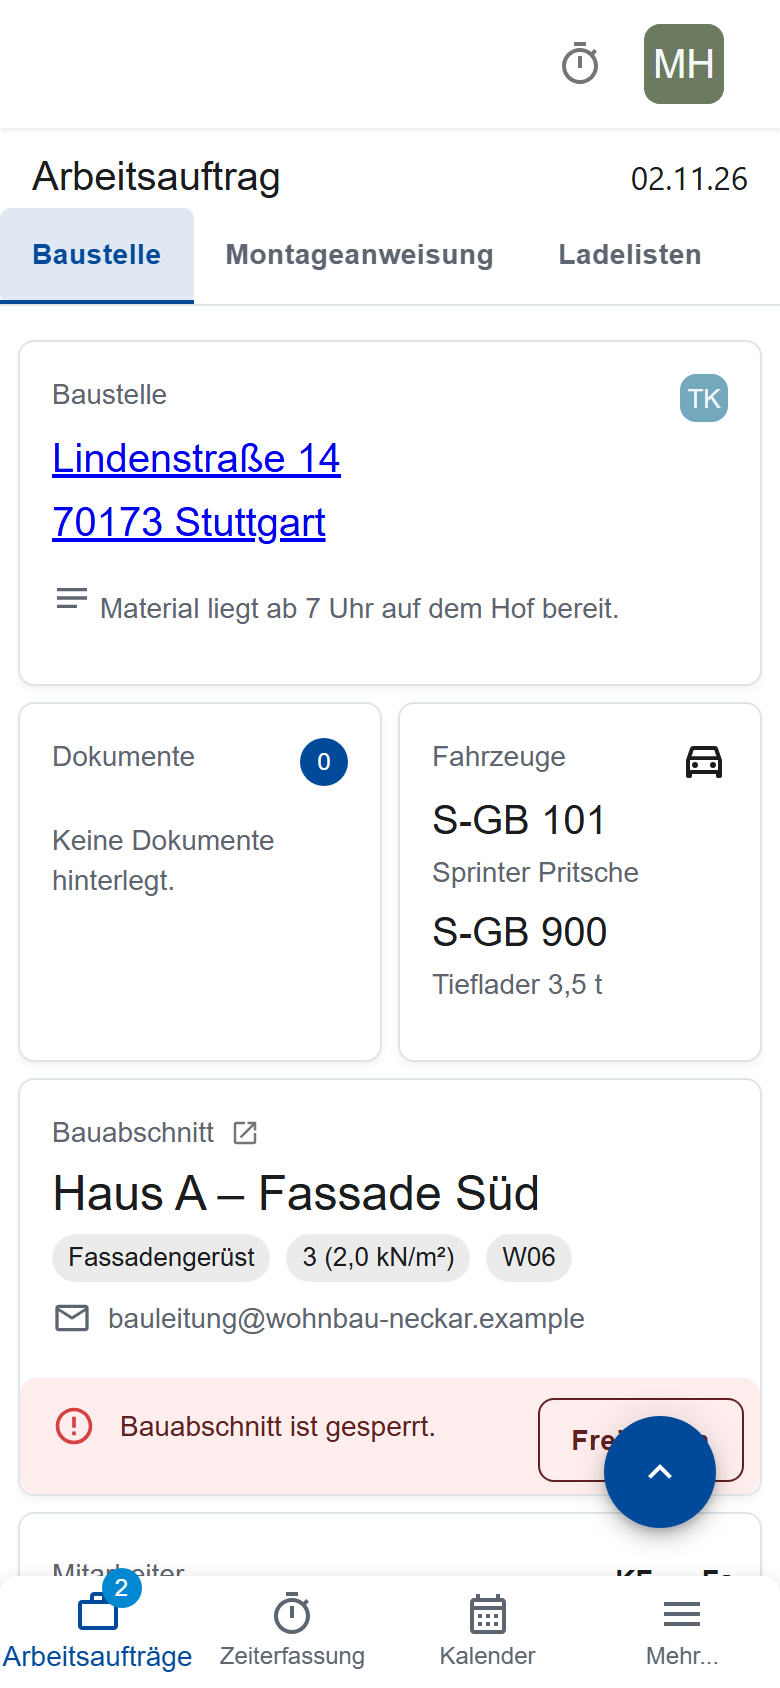
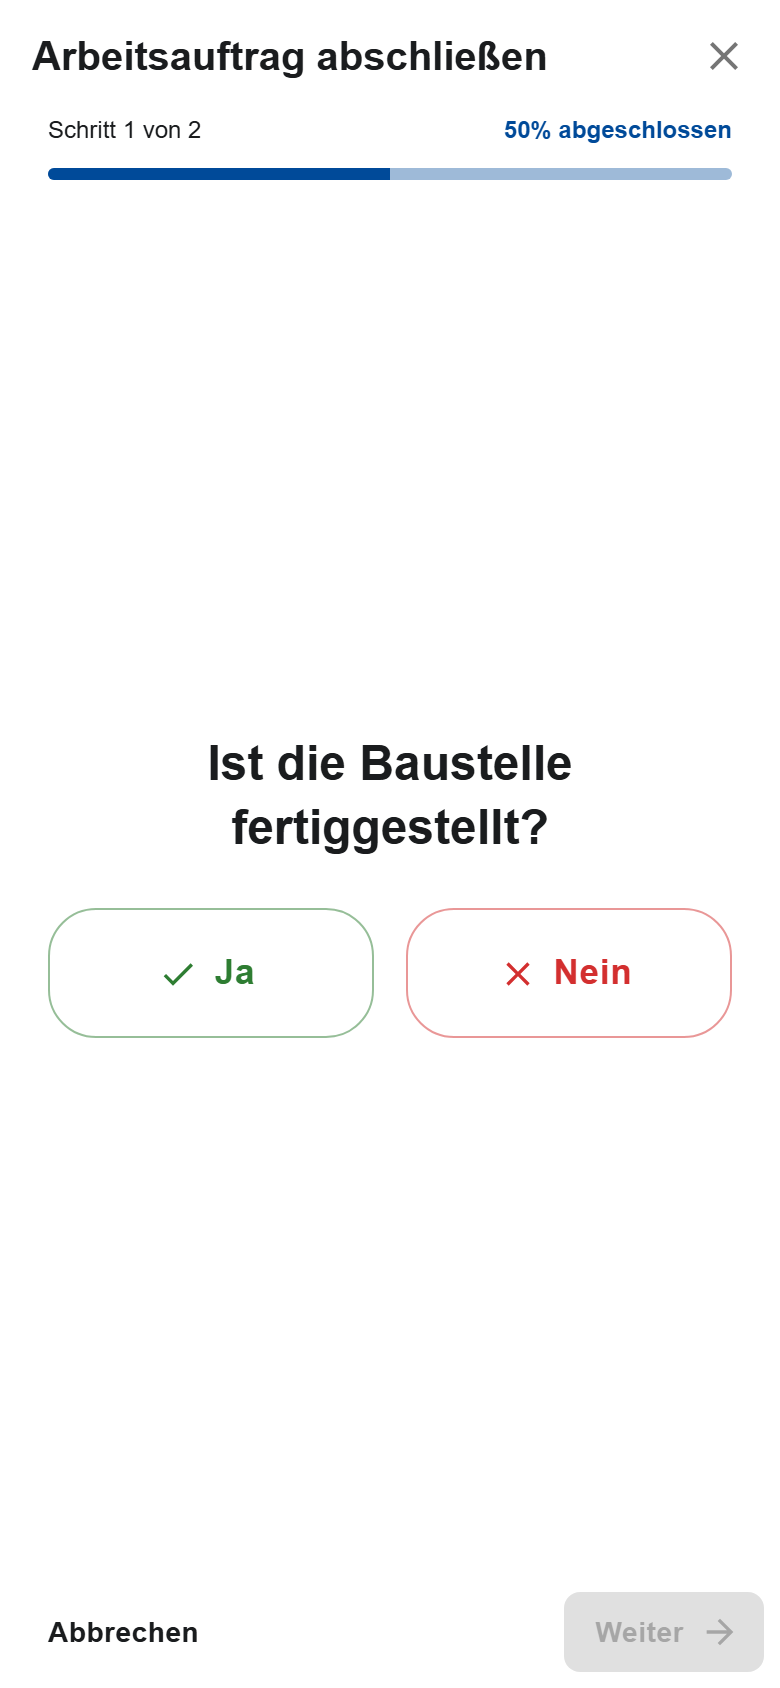
In the office, the list of work orders shows the progress under Status.
→ Guide: My work orders
5. Release the scaffold
Once the scaffold is finished, the section is released, in the office or right on the construction site: assign a QR code sign, rate the checklist, add notes. After that, the inspection report goes to the customer by email, and the QR code on the scaffold shows the status to anyone who scans it.
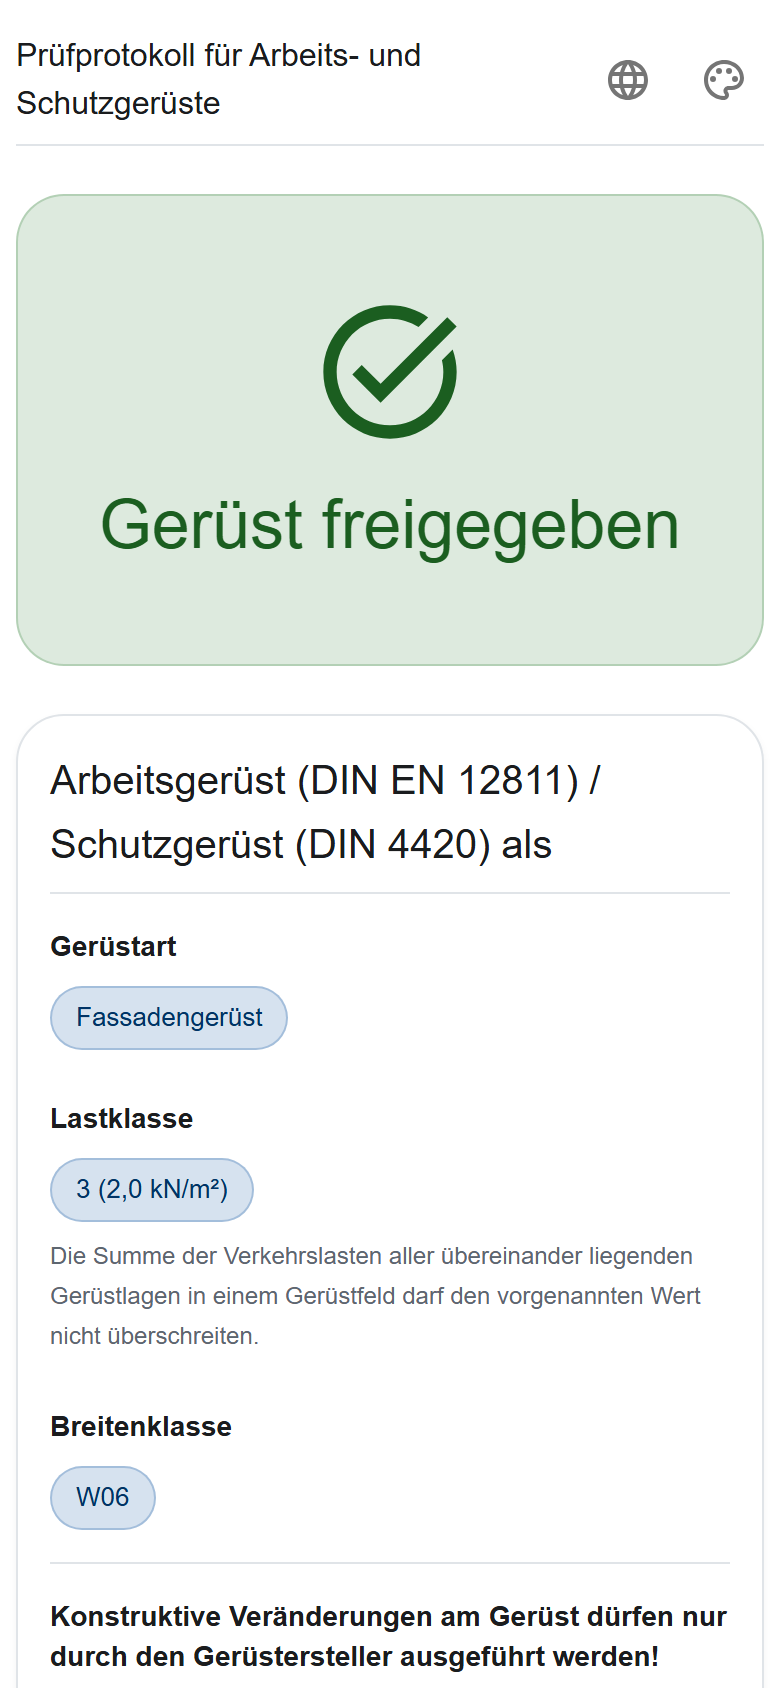
→ Guide: Scaffold release with QR code
6. Modification and dismantling
Every further job gets a new work order on the same section: Modification, Partial disassembly or Disassembly. The quickest way is to copy the previous order and change Task(s) and date (Copying an order). For a dismantling, the report asks a checklist about the condition of the scaffold.
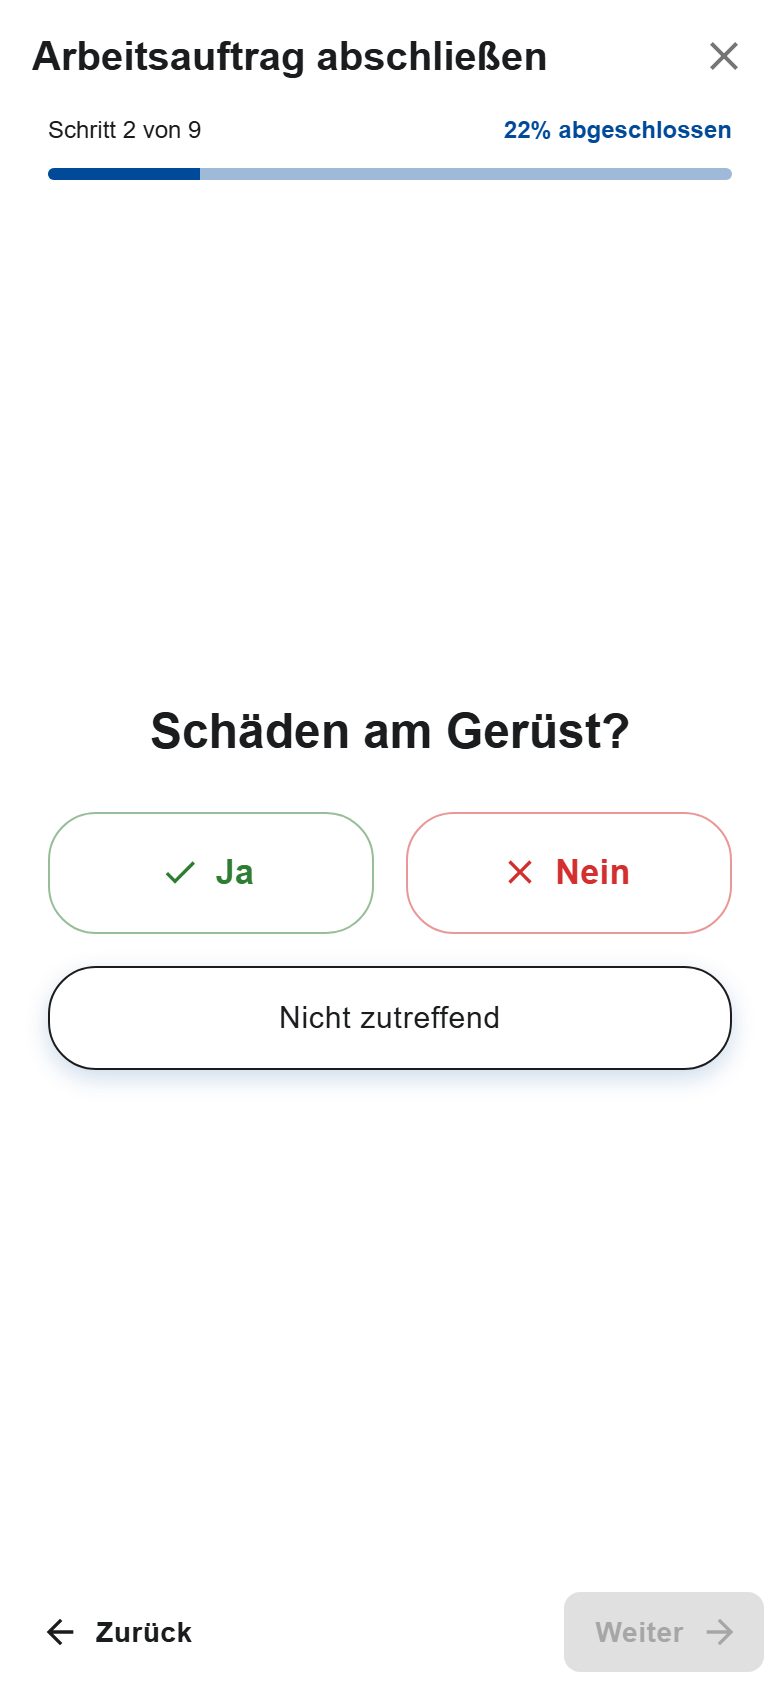
When the crew reports a dismantling-only order as finished, ScaffConnect closes the scaffold and sends the dismantling notice (Closing after the dismantling). If a scaffold has to be closed in between, for example after damage, see Closing a scaffold.
7. Bill and finish the construction site
Under Construction sites → Billing, the office sees which work orders are still unbilled and enters partial and final invoices. The Final invoice closes the construction site.
→ Guide: Billing